| Home > RX-7 > My RX-7 > Project Tina > Project Tina, August 4, 2004: Assembling The Engine, Modifying Lower Intake Manifold |
| Home > RX-7 > My RX-7 > Project Tina > Project Tina, August 4, 2004: Assembling The Engine, Modifying Lower Intake Manifold |
The front cover is installed. This is another "gotcha". There is an o-ring that seals the front cover oil passage to the front iron. Mazda has changed the design of the ENGINE SIDE of the o-ring groove several times (one from S4 to S5). I'm not going to explain it here, so if you are curious you need to visit the Mazdatrix FAQ. Suffice it to say that if you are rebuilding an early '86-'88 engine with a new gasket set, you will have issues if you do not follow the Mazdatrix instructions. My front iron was already set up to use the new style o-ring, so I just followed the factory procedure. If you mess this up, it is highly likely that the ring will blow out, and you will loose most of your oil pressure.
Before the hub is installed, the eccentric oil seal must be tapped into place. The seal is lubed, then tapped into place carefully with a hammer and block of wood. Oil leaks suck, so always replace these seals when the front cover is removed or you change a flywheel (there's another at the back). The seals are cheap.
Anyone assembling an engine should always replace the front oil thermostat with a thermal pellet. This assures full oil flow at all times to the rotor oil jets. These pellets are available from every vendor. This one happens to be from Speed Machine, since I got a bunch the first year at Revolution. Of course, a new o-ring should be installed and pre-lubed. Don't neglect the copper sealing washer. I super glue it in place so it doesn't come off and get crushed during assembly. Loctite should be used on this bolt. If you are going to be the next one to disassemble the engine, use blue. If it is someone else's problem, use red.
Sometimes you have to improvise. You see here a chain that is being used to hold the engine stationary while the front bolt is torqued to 90 Ft-LBS. Since there is no flywheel installed yet, a locking bar can't be used. This method works out well, but make sure that the hub is firm (a SLIGHT hit with an impact wrench helps) before you do this...You don't want the action of the chain pulling up on the hub while you are torquing.
And the short block is finished. Various views. Now that the front hub is installed, the engine can be rotated. She's pretty strong already. Good solid pops. Resist the urge to spin it over too much, because you don't want to defeat the purpose of pre-lubing by wearing it off.
More pictures. Sorry about the lighting, but it's a basement.
Good (sort of) shot of Mazda logo. Will be highlighted in black (or maybe silver?).
I still need to make a blockoff for the EGR ports.
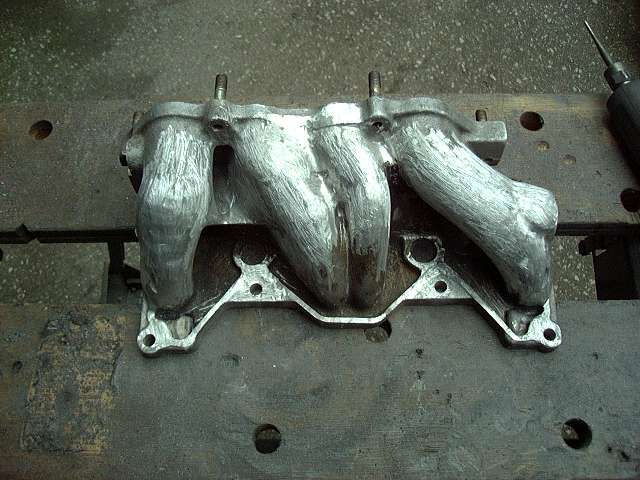
Since everyone will be asking, here's the progress on the modded lower intake. Note that I did NOT want this to turn into a major project. It was simply supposed to be a "make work" activity to do while waiting for parts. I wanted to at least feel like I was accomplishing something. Little did I know. Here is the intake with some cleanup done, and all the ports (5th and 6th, emissions) welded up. Thanks to Chris at [url="http://www.cpracing.ca"]CP Racing[/url] for having the aluminum welded up.
Something similar was done to the upper intake. The cold start mount was removed, and the extra vacuum nipples welded up. However, I may not use it after all...
Almost ready to be painted. The welds were smoothed down with the die grinder and sandpaper rolls. All that remains is for the carbon to be cleaned off, and for it to get a quick polish.

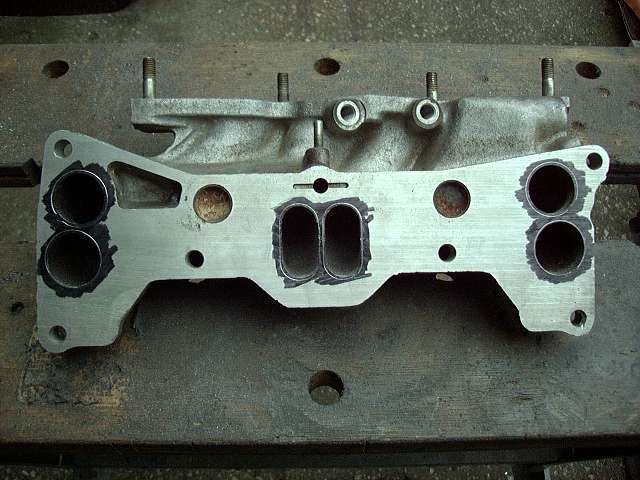
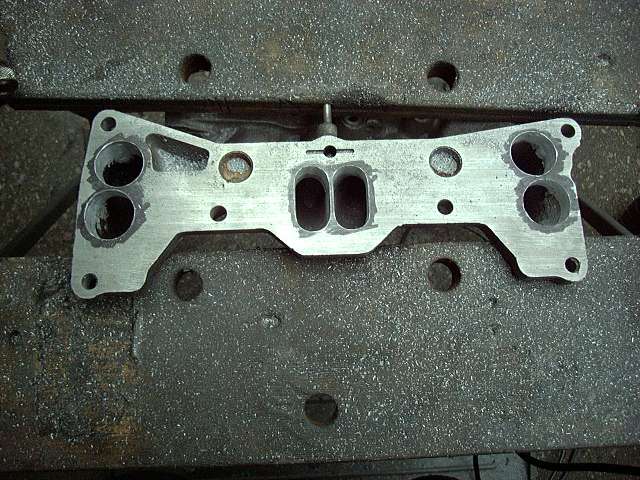
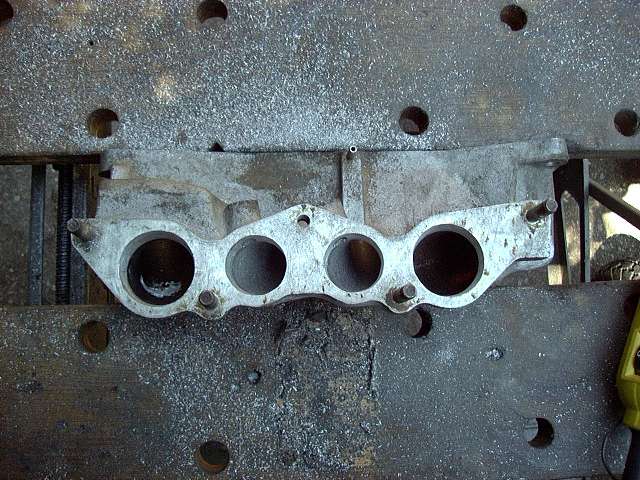
Before polishing, I decided that I might as well port the flanges to more closely match the gasket and engine ports.

The lower flange is rough ported.

And the upper flange is rough ported. This is also the last picture. I'm going to make everyone wait for the final product in the next set of pictures that I post.

I'm hoping to post the next set of pics in a few weeks. These should include final assembly of the engine (excluding upper intake), some interior work, engine installation and related work.
It's a great feeling to see a bunch of parts finally being turned into an engine, and I'm sure it'll be a blast to see it sitting in it's nice clean engine bay. There's still a lot of work to be done though. The Microtech needs to be wired, as well as all the "extra" wiring for sound and accessories. The interior needs to be done (seats, carpet, door panels, some trim). The fuel system is a biggie as well (some decisions need to be made on that), and of course a whole new exhaust. I'll be running the stock turbo during breakin, but afterwards I'll be upgrading. Which probably means a new set of intercooler pipes and certainly a new intercooler as well.